Documentation Index
Fetch the complete documentation index at: https://docs.nrev.ai/llms.txt
Use this file to discover all available pages before exploring further.
What It Does
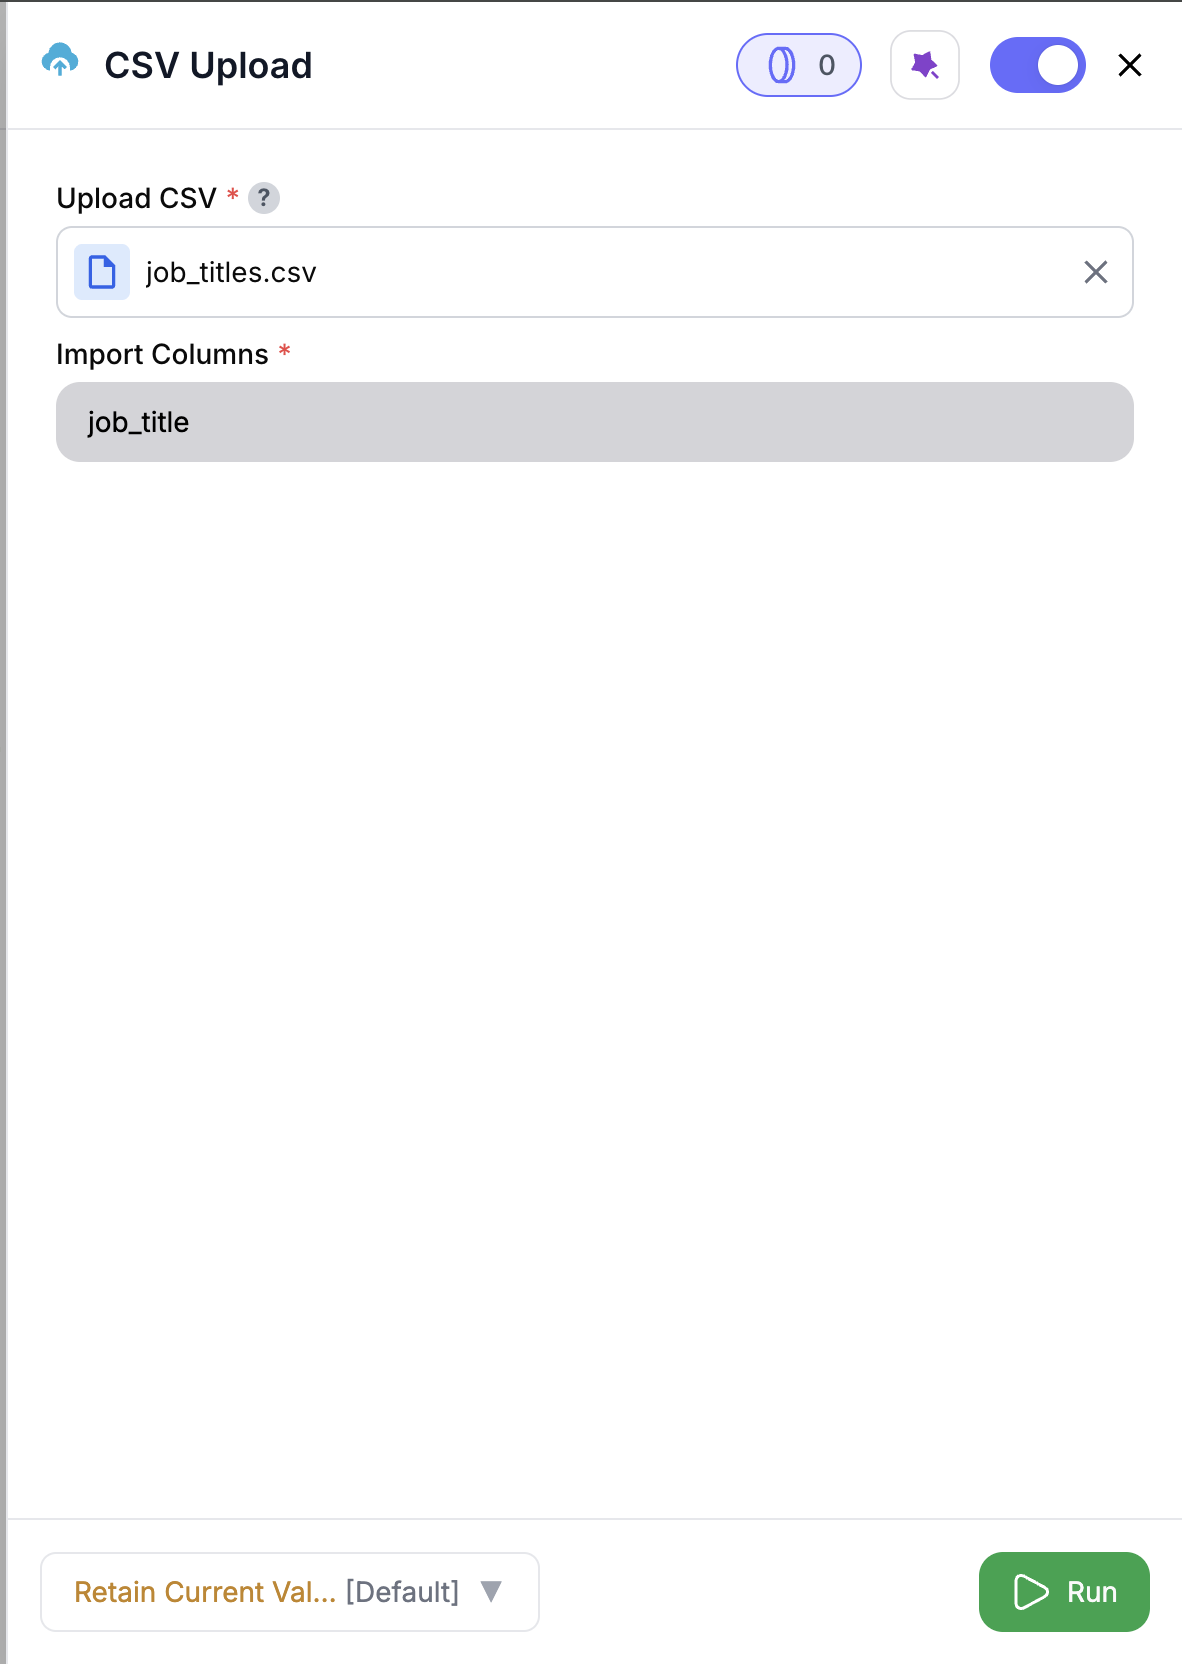
- Imports CSV Data: Load structured data from a locally uploaded CSV file.
- Targeted Column Selection: All columns are included by default; choose specific ones if needed.
- Trigger-Friendly: Use it to start a play or drop it mid-play as a flat-file ingest step.
- Column Name Safety: Handles duplicate column names automatically to prevent issues downstream.
🏁 Getting Started
Add the Node
Add the CSV Read node to your play. It works as a trigger node (no upstream input) or can be inserted mid-play to bring in CSV data.
(Optional) Select Columns
All columns are selected by default. Use the dropdown to include only the ones you need.
Inputs
🚀 This is a trigger node — no inputs are required from upstream nodes.Output
After execution, your selected CSV data is available for downstream nodes.- Outputs all columns by default (or just the selected ones)
- Data can be previewed from the node’s output panel
- Duplicate column names are automatically renamed (e.g.,
email,email_1,email_2) to maintain integrity
📝 The first row of your CSV must contain column headers. If not, the first row will be treated as headers — which may cause issues downstream.
How It Works
- Validates the file format and confirms it’s a readable CSV
- Applies column filtering if selected
- Reads and loads your data into the play
- Auto-renames duplicate columns as needed to avoid conflicts
- Displays the processed data in the output panel
✨ Pro Tips
⚠️ Important Considerations
🛠 Troubleshooting & Gotchas
| Symptom | Cause | Quick Fix |
|---|---|---|
| No data shown in preview | File is empty or improperly formatted | Open the file and check contents before uploading |
| Missing or extra columns | Column selection mismatch | Reopen the node and adjust your column choices |
| Unexpected column names | Duplicate headers were renamed | Preview output to see updated field names (e.g., email_1) |
📝 FAQ
Can I load only specific columns?
Can I load only specific columns?
Yes. By default, all columns are included, but you can select just the ones you need from the dropdown.
What happens if my CSV doesn't have headers?
What happens if my CSV doesn't have headers?
The first row will be treated as headers, which may lead to issues in downstream nodes that rely on proper column names.
Can I preview the file before continuing?
Can I preview the file before continuing?
Yes. After uploading and running the node, click the file icon on the node card to view a preview of the data.
💼 RevOps Use Cases
| Scenario | Why Use CSV Read |
|---|---|
| SDR call logs | Bring in call outcomes and metadata for routing logic |
| Pipeline audit | Ingest CRM exports for deal review |
| Account planning | Import segmented account lists |
| Attribution modeling | Analyze touchpoint exports in sequence |
Start your RevOps plays the smart way — bring in your CSVs, select only what matters, and hit the ground running. 📊⚡