What It Does
- Exports selected data into a downloadable CSV file
- Lets you choose only the fields that matter
- Gives you full control over filename and structure
- Prepares a ready-to-download CSV for sharing with your team
🏁 Getting Started
(Optional) Choose Fields to Include
Select specific columns to export.
This is your last chance to include only the fields you want in the final file.
This is your last chance to include only the fields you want in the final file.
Inputs
🛠️ Required Fields
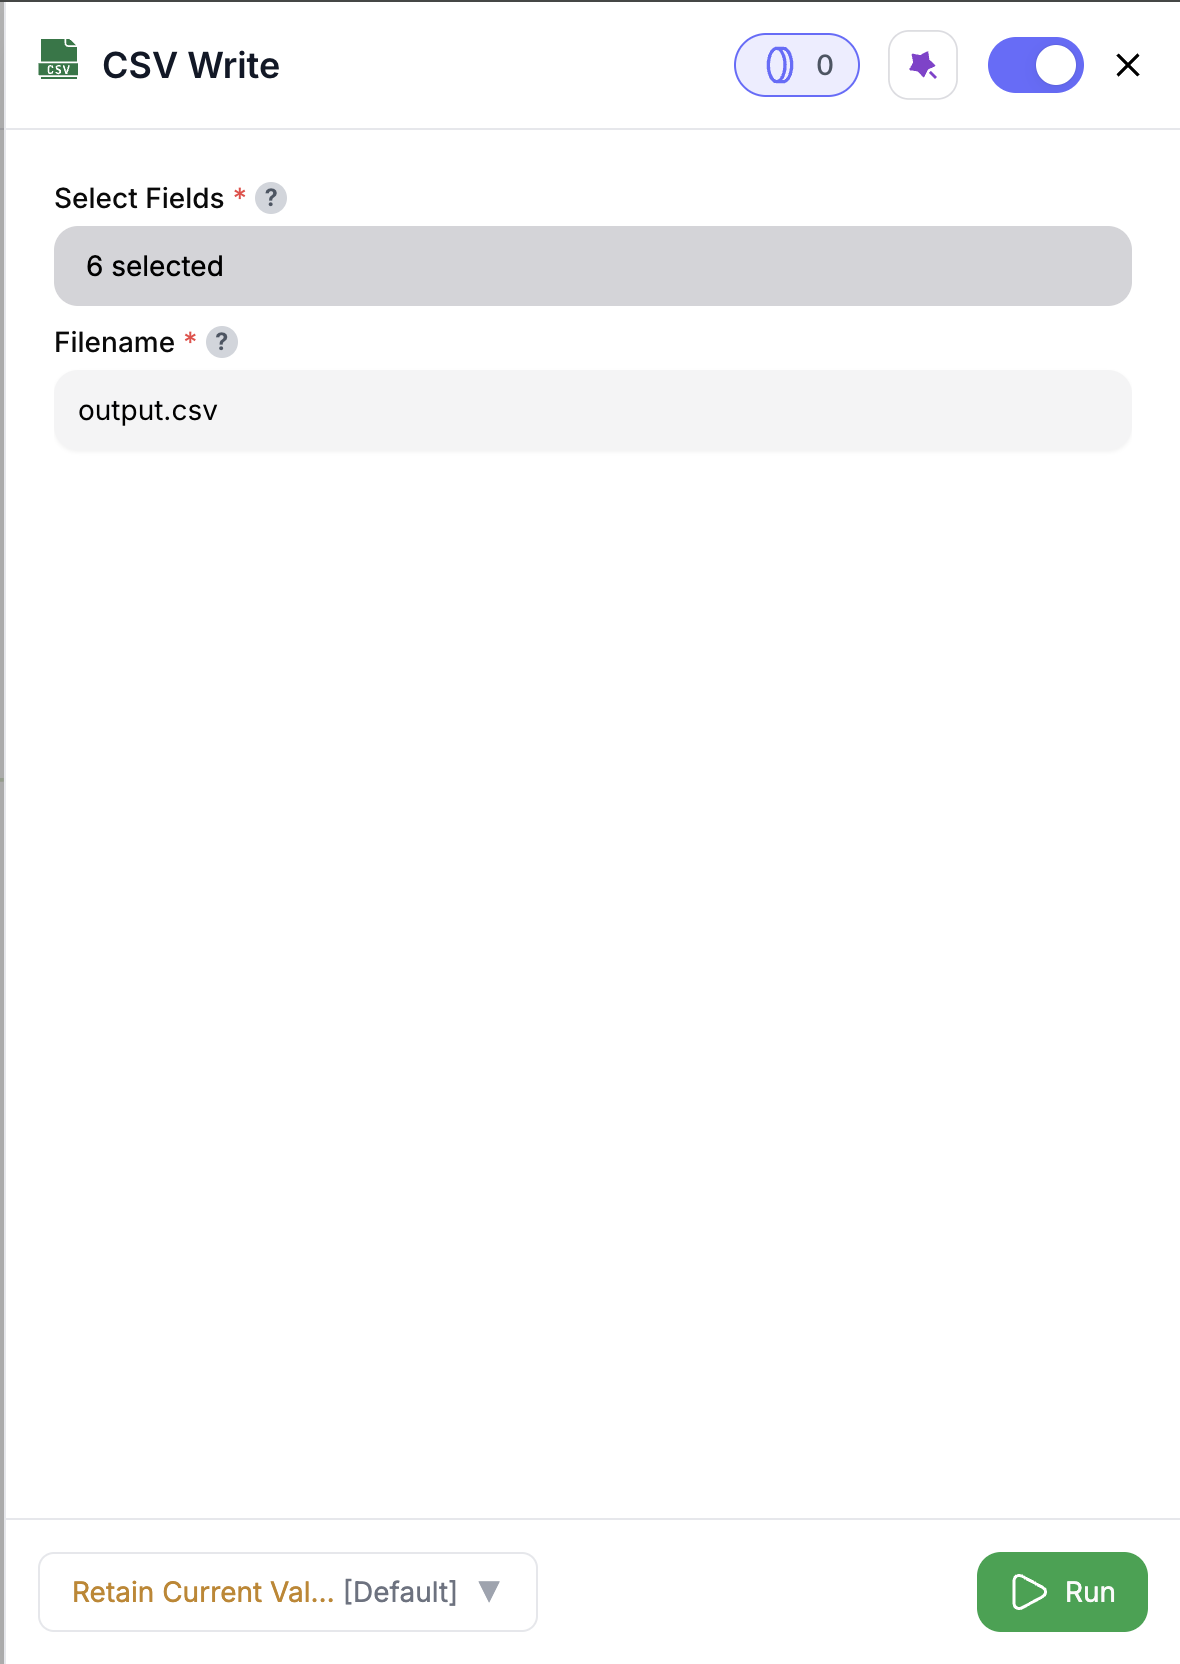
- Filename (✅)
The name of the output CSV file, including.csv.
Why it matters: Sets the filename for the downloadable file.
🎯 Optional Fields
- Select Fields (⚪️)
List of column names to include.
Why it matters: Helps you focus the export on just the fields that matter — ideal for reporting or sharing insights with Sales/CS.
Output
Once execution completes, you’ll get:- A ready-to-download
.csvfile - File metadata: number of rows, columns, and included fields
How It Works
- Validates that a filename and input data are present
- Applies field filtering (if selected)
- Creates a
.csvfile with your specified structure - Makes the file available to download in the output panel
🚀 Example Use Cases & Prompts
| Use Case | Setup Example |
|---|---|
| Share pipeline | Select account_name, stage, owner |
| Report for Sales | Set filename to q3_pipeline_export.csv |
| Audit log export | Export user_id, action, timestamp |
✨ Pro Tips
⚠️ Important Considerations
🛠 Troubleshooting & Gotchas
| Symptom | Likely Cause | Quick Fix |
|---|---|---|
| No download file shown | Missing filename | Add a .csv filename and rerun |
| Too many columns in file | Fields not selected | Use Select Fields to trim export |
| Only 5 rows exported | Node in test mode (purple) | Toggle to green for full run |
📝 FAQ
Can I export only a few columns?
Can I export only a few columns?
Yes — just use the Select Fields input to define which columns to include.
Do I need to include `.csv` in the filename?
Do I need to include `.csv` in the filename?
Yes — your filename must end in
.csv (e.g. my_export.csv).Where do I download the file?
Where do I download the file?
Click on the preview link on the node card and download by clicking the download button on the top right of the preview panel.
💰 Pricing
The CSV Write node is free to use — no credits required.
Build fast, flexible exports that are ready to download 📥