Documentation Index
Fetch the complete documentation index at: https://docs.nrev.ai/llms.txt
Use this file to discover all available pages before exploring further.
What It Does
- Classifies text using AI into categories (or “keys”) that you define.
- Supports single or multi-label classification, depending on your settings.
- Optional reasoning helps explain why the label was chosen.
- Fully configurable with custom keys, instructions, and optional column naming.
- Auto-resolves naming conflicts so your original data stays safe.
🏁 Getting Started
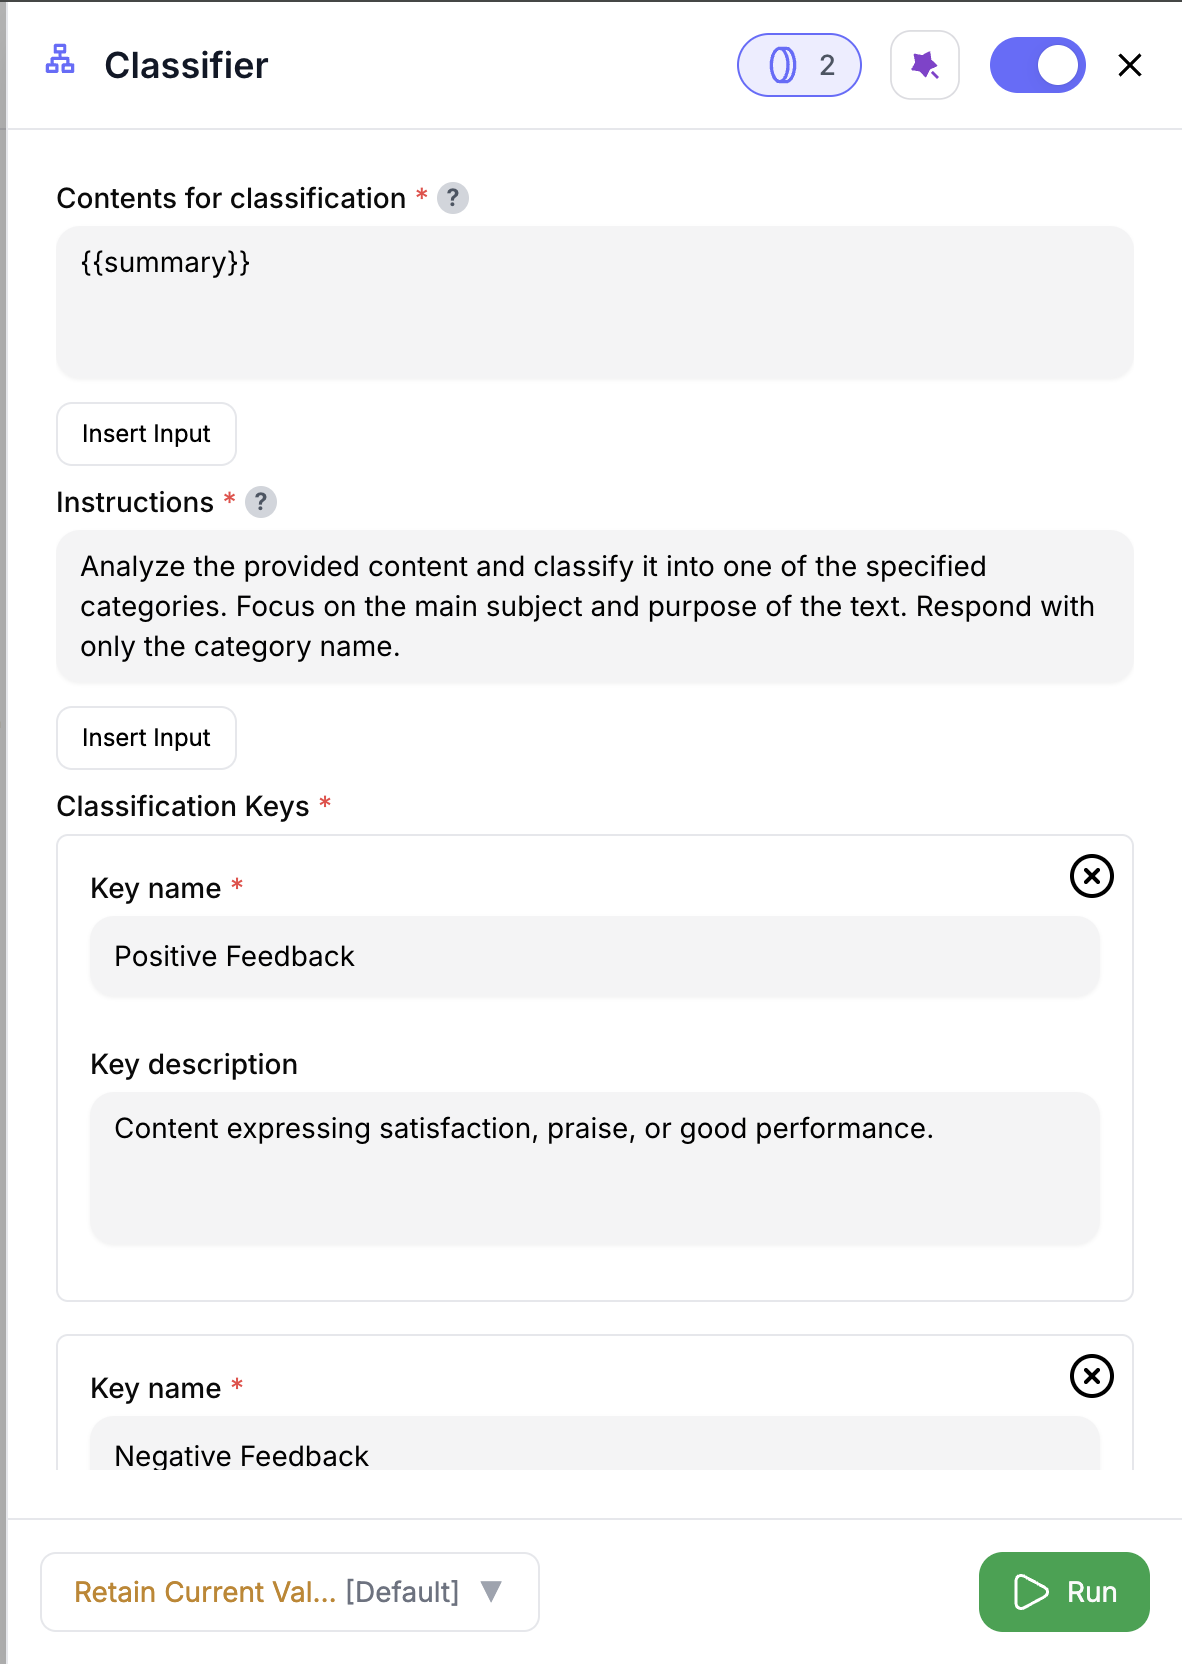
Choose Input Column
Select the column that contains the text to classify. Use Insert Input or type
@ to reference earlier steps.Write Your Instructions
Optionally, guide the model with a prompt like “Classify this as pricing, support, or product.”
Define Keys
Add labels for the AI to pick from. Each key can include:
- A name (e.g.
support) - A description to help improve accuracy
Set Preferences
- Toggle Include Reason to explain why the label was picked
- Toggle Allow Multiple Classes to enable multi-label tagging
- Optionally rename the output column
Inputs
🛠️ Required Fields
-
Text Column (✅)
Select the column you want to classify — e.g.,@feedback,@summary, etc. -
Classification Keys (✅)
Define the labels you want applied. Each key includes:- A name (e.g.
product,pricing) - An optional description (e.g. “Mentions product bugs or roadmap features”)
- A name (e.g.
🎯 Optional Fields
-
Instructions (⚪️)
Helps the AI understand how to apply your keys. Example: “Tag this as product, pricing, or support.” -
Include Reason (⚪️)
Adds a second column with short explanations.
Adds 1 extra credit per row. -
Allow Multiple Classes (⚪️)
Enables multiple labels per row.
Returns values as arrays like["product", "pricing"]. -
Output Column Name (⚪️)
Customize the result column. Defaults toCLASS.
Auto-suffixed if there’s a conflict (CLASS_1, etc).
Output
The node adds:| Output Column | Description |
|---|---|
CLASS (default) | The predicted label(s). |
CLASSIFICATION_REASON | (Optional) Explains why each label was chosen. |
If multi-label is on, values appear as arrays like
["support", "pricing"].🚀 Example Use Cases
| Use Case | Setup Example |
|---|---|
| Feedback Tagging | Classify @feedback into product, pricing, support, other |
| Sentiment Analysis | Classify @review_text as positive, neutral, negative |
| Intent Detection | Tag @chat_log for buying intent, support, info-seeking |
| Content Classification | Label @summary into news, promo, update, other |
✨ Pro Tips
⚠️ Important Considerations
🛠 Troubleshooting & Gotchas
| Symptom | Likely Cause | Fix |
|---|---|---|
| Empty result column | No keys provided | Add at least one classification key |
| Same label for all rows | Instructions too vague | Add clearer rules or improve key descriptions |
CLASS_1, CLASS_2, etc. | Name conflict in output | Rename the output column in config |
📝 FAQ
Can I use multiple labels per row?
Can I use multiple labels per row?
Yes — toggle Allow Multiple Classes to get array outputs like
["pricing", "product"].What does 'Include Reason' do?
What does 'Include Reason' do?
Adds a second column explaining why the label was chosen. Great for review or debugging.
How many labels can I use?
How many labels can I use?
There’s no hard limit, but 3–10 keys works best for clarity and model accuracy.
💰 Pricing
| Mode | Credit Cost per Row |
|---|---|
| Classification only | 1 credit |
| With Reason | 2 credits |
Only rows that receive a result are charged. Enabling Include Reason adds +1 credit per row.
Classify anything — feedback, intent, topic, or theme — and make your data more actionable with just a few clicks. 🏷️⚡