Documentation Index
Fetch the complete documentation index at: https://docs.nrev.ai/llms.txt
Use this file to discover all available pages before exploring further.
What It Does
- Dynamically creates new columns in your DataFrame based on static or dynamic values, including placeholder variables.
- Automatically resolves column name conflicts by adding numeric suffixes (e.g.,
deal_stage→deal_stage_1). - Supports creating multiple columns in a single operation to streamline your workflow.
- Includes a test mode, limiting the output to the first 5 rows for validation purposes.
🏁 Getting Started
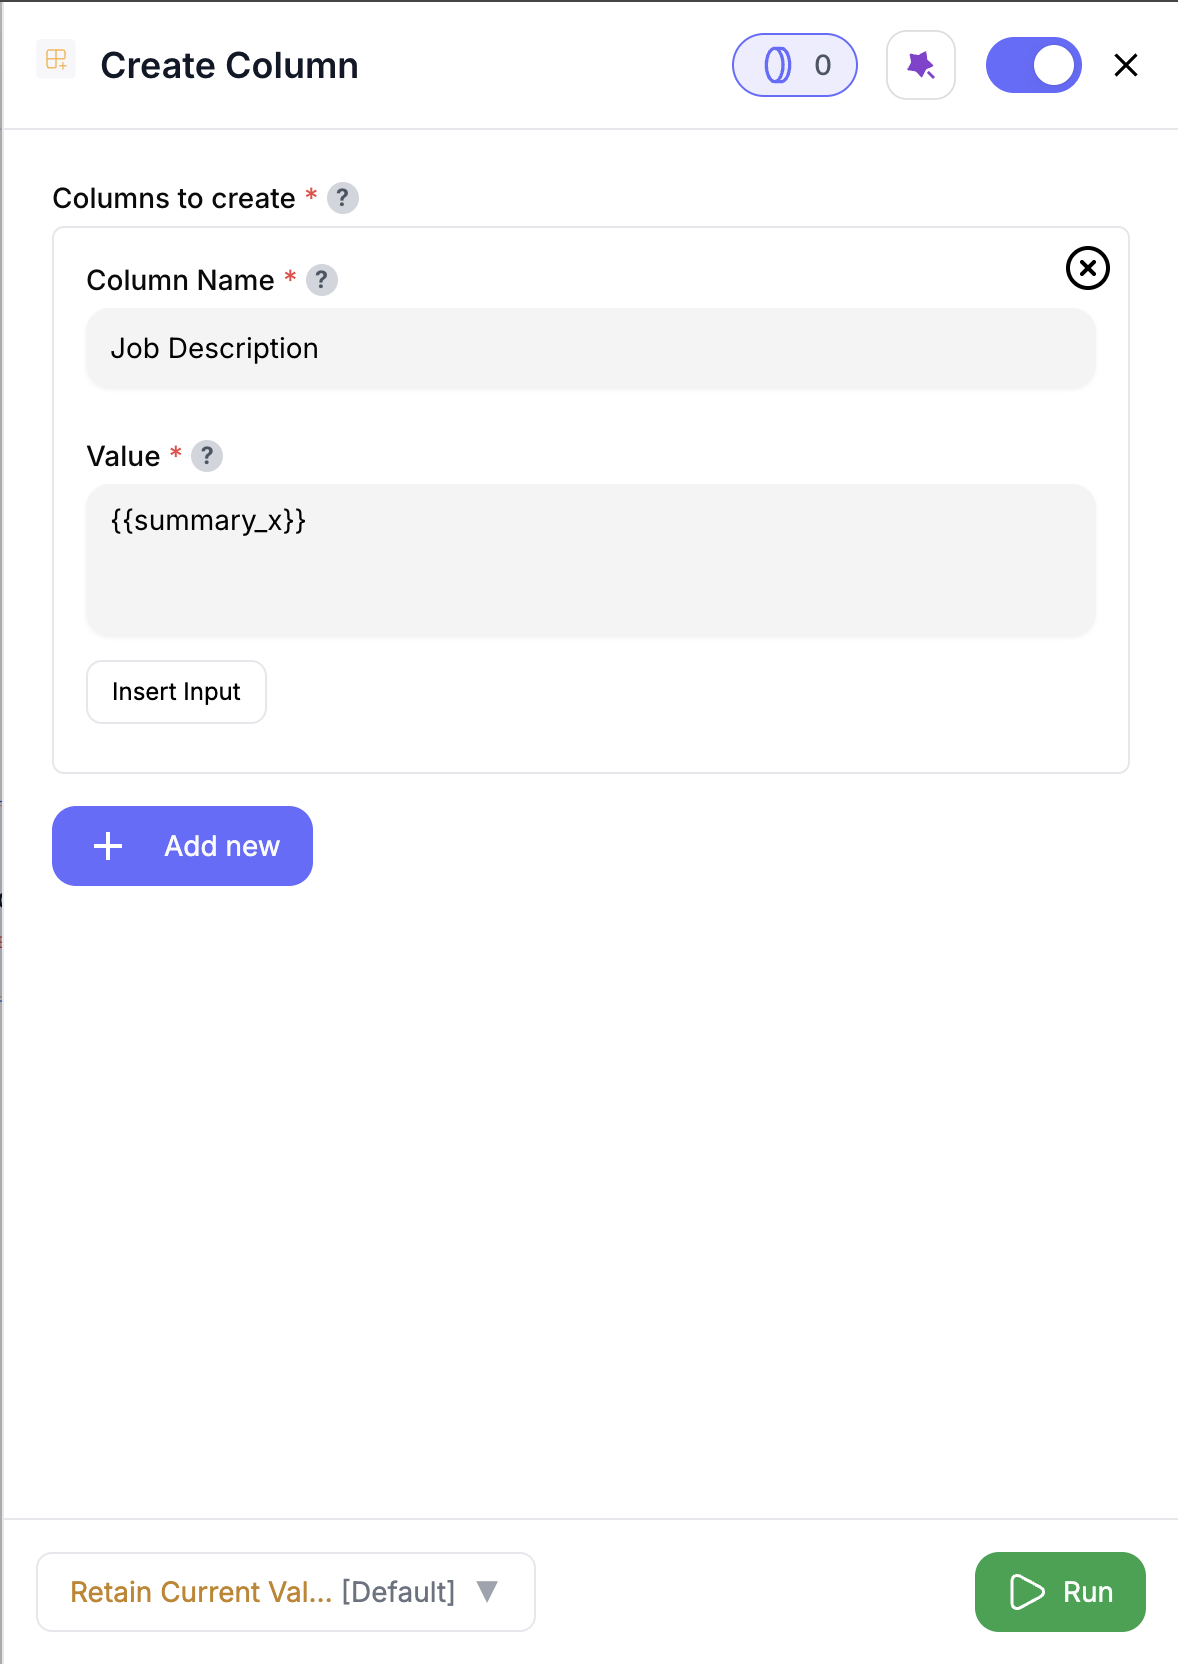
Define Columns to Create
Specify the columns to be created with either static or dynamic values (e.g.,
lead_source or deal_size).Inputs
🛠️ Required Fields
-
Column Name (✅)
The name of the column to be created.
Why it matters: Specifies the name of the new column that will be added to the DataFrame. -
Value (✅)
The value to be assigned to the column. This can be a static value or a dynamic placeholder.
Why it matters: The value that will fill the new column, allowing for custom data calculations or classifications.
Output
You’ll get back your input data — plus the columns you chose to add.- Row count and column order are preserved.
✨ If your table already has any of those column names, the new ones will be renamed automatically (e.g.,
summary_1, summary_2, etc.).How It Works
- Loads the input DataFrame from the previous node.
- Resolves column names to avoid conflicts with existing columns.
- Processes each row to replace placeholder variables with actual values.
- Adds the new columns to the output DataFrame.
- If in test mode, limits the output to the first 5 rows.
- Saves the output DataFrame to S3 and returns the output metadata.
🚀 Example Use Cases & Prompts
| Use Case | Setup or Prompt Example |
|---|---|
| Track lead source | "lead_source": "LinkedIn" |
| Calculate deal size | "deal_value": quantity*price_per_unit“ |
| Classify lead status | "lead_status": "MQL" (based on lead score threshold) |
| Calculate deal urgency | "deal_urgency": "High" (based on close_date proximity) |
| Add account region | "account_region": country“ |
✨ Pro Tips
⚠️ Important Considerations
🛠 Troubleshooting & Gotchas
| Symptom | Likely Cause | Quick Fix |
|---|---|---|
| Column contains different information | Renamed due to conflict | Look for suffix like lead_status_1 |
📝 FAQ
Can I configure dynamic columns based on custom thresholds?
Can I configure dynamic columns based on custom thresholds?
No. Use other nodes like Filter Data to achieve the same.
Do I need to manually reference each column?
Do I need to manually reference each column?
No, use the Insert Input feature to easily select and insert columns from the previous node.
What if a column name conflicts with an existing one?
What if a column name conflicts with an existing one?
The node automatically adds numeric suffixes (e.g.,
lead_status_1) to avoid overwriting.💰 Pricing
The Create Column Node incurs no additional cost for column creation.| Action | Credit Cost |
|---|---|
| Column creation (static/dynamic) | 0 credits |
Drop this node into your flow to dynamically create new columns in your DataFrame. 🚀